Ansible is used for better configuring the infrastructure whereas Terraform is better used for infrastructure provisioning
The node on which ansible is installed, to perform configuration management on multiple nodes by a code remotely is called a Manager or Controller node. The nodes that are managed are called Managed or Target node
For the ansible on the controller node to connect and manage the target node, we have to give information about the IP Address, username, password and protocol name used by the target node that has to be managed. This information is called inventory
📍Here is the link for Ansible Documentation
Now go to vs code and do terraform apply and then
-target=aws_eip_association.eip_association -targetterraform apply -target=aws_eip.komiser_instance_ip=aws_elb.komiser_elb -target=aws_instance.komiser_instance
clone this repo github.com/kubesimplify/cloudnative-lab into killer coda playground
Now in the killer coda create an Ansible directory
apt install ansible
mkdir ansible
cd ansible/
vim inventory.yaml
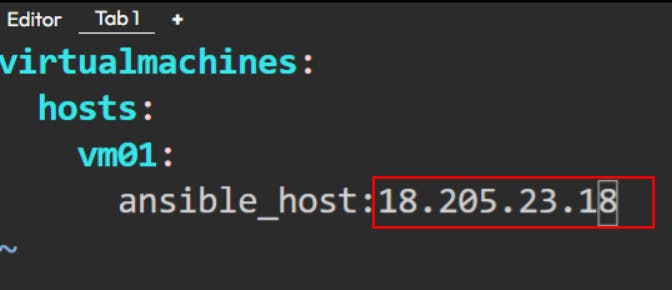
Give the elastic_ip which you get after terraform apply
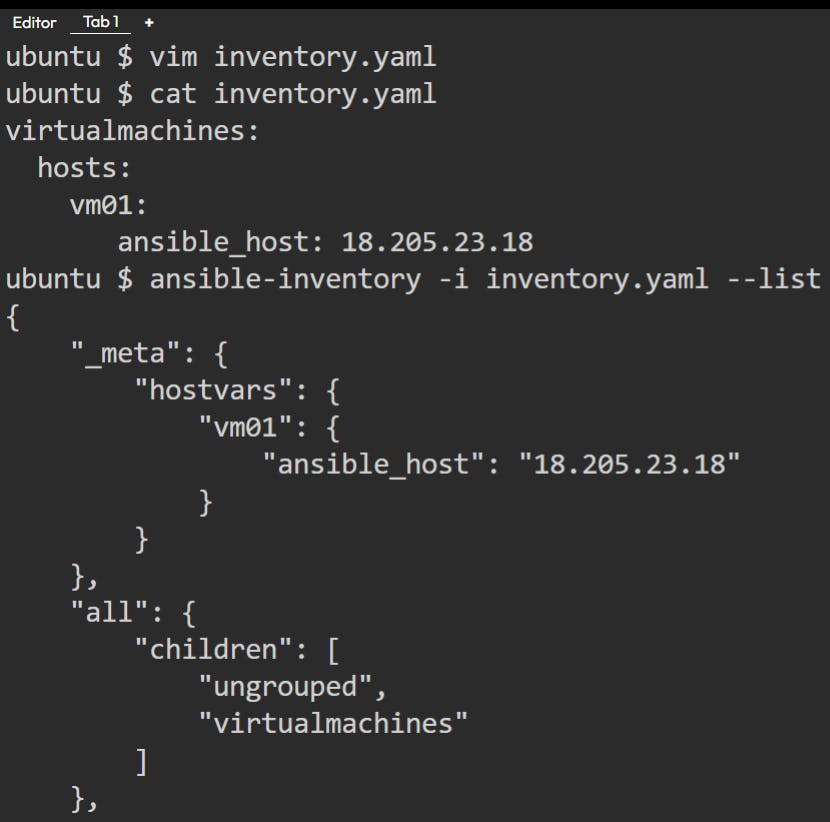
Ping the managed nodes in your inventory. In this example, the group name is virtualmachines which you can specify with the ansible command instead of all


here I copy pasted the ssh private key, Now do cd cloudnative-lab/projects/ep-cloud-cost-monitoring/project_files/ansible/
The chmod command is used to change the access permissions of files and directories. In this case, you're setting the file komiser-aws in the ~/.ssh/ directory to have read-only permissions for the owner of the file, while denying all permissions to group members and others.


added the above two lines to the inventory.yaml and did ansible virtualmachines -m ping -i inventory.yaml

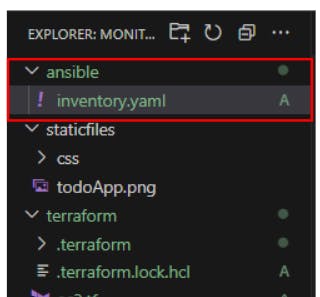
It worked, we created an ansible folder and addded inventory.yaml file into it
Follow this documentation if you want to install vscode in Windows or any other os
Now do terraform apply --auto-approve -target=aws_instance.komiser_instance -target=aws_eip.komiser_instance_ip -target=aws_eip_association.eip_association

The ping was successful, I created a remote workspace for testing Ansible as I have Windows, using a windows pc as the Ansible host is not a good idea

Finally, our Ansible playbook is running successfully
what we wanna do with ansible are 3 things the main purpose of using ansible-playbook is wanna deploy our Django app inside the ec2 instance for that we already created a docker-compose file, running it would be simply the docker-compose command giving it the port mapping and the docker file and compose file
▪️ First we want to copy the docker and docker-compose file into our ec2-instance
▪️ Second to check docker is running
▪️ Finally, it should run the docker-compose command to run the application
Now do terraform apply -destroy --auto-approve -target=aws_instance.komiser_instance
and then do terraform apply --auto-approve -target=aws_instance.komiser_instance -target=aws_eip_association.eip_association


so we got some errors, so we checked every indent in the playbook.yaml 👇
- name: AWS EC2 Komiser Playbook
  hosts: vm01
  tasks:
  - name: Check if Docker is running!
    ansible.builtin.systemd:
      name: docker.service
      state: started
      enabled: true
  - name: chnage the Directory
    ansible.builtin.shell:
    args:
      chdir: /cloudnative-lab/projects/ep-cloud-cost-monitoring/project_files
  - name: Run Dockerfile
    ansible.builtin.shell:
      cmd: docker compose -f docker-compose.yaml up -d

Now time to make some changes in the playbook.yaml file
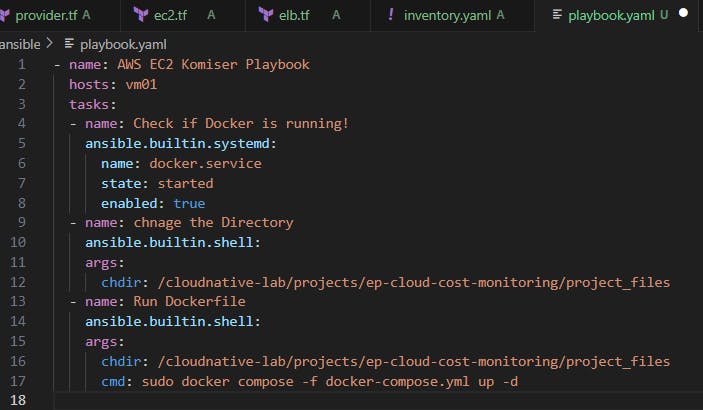
oh man, again we're getting some sort of error 👇

well, let's continue this error in the next blog 👋
📍**Resources**:
Part3 Blog :
https://manogna.hashnode.dev/cloud-cost-monitoring-using-komiser-part-3
Part5 Blog :
https://manogna.hashnode.dev/cloud-cost-monitoring-using-komiser-part-5
Kubesimplify Github :
github.com/kubesimplify/cloudnative-lab
My Github :
